Send for Translation
To send content for translation, first select the "Send to translate..." option from the menu.
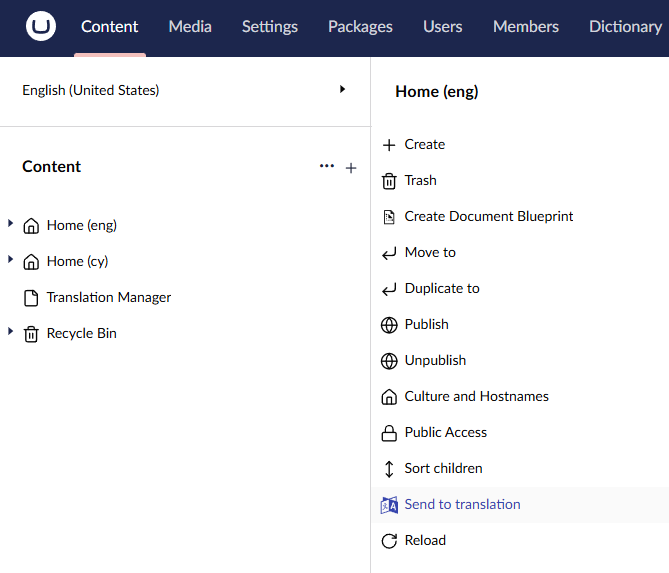
You will then see the send to translate dialog. As of Version 17.2 the translation connector options dialog is part of the send to translate dialog.
tip
Depending on the translation connectors you have installed you might see different options here.
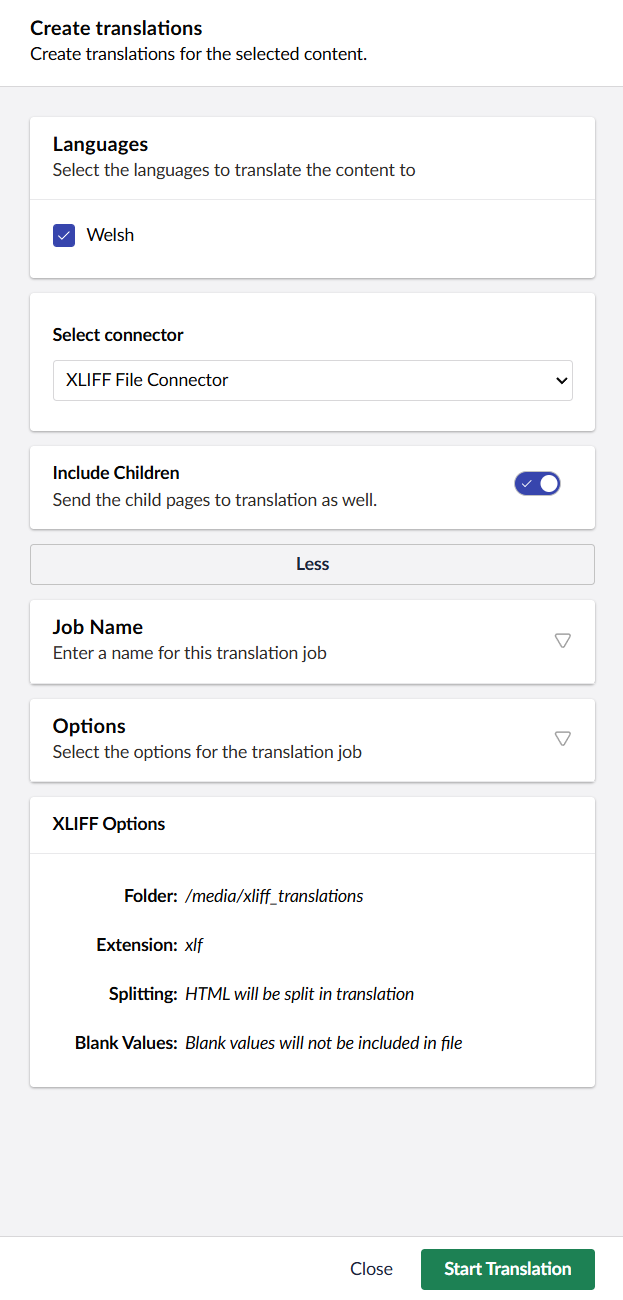
Languages
- Select the languages you wish to translate using the checkboxes.
Select Connector
- Select your connector. If you already have a preset connector it will display here.
Include Children
- This will send the whole tree of content to translation, from this point downwards.
Job Name
- When you use the default job name, Translation Manager will fill in the culture (the language you are translating into) and the date (the date and time of the translation job). For example, if the job name box says
home {culture} {date}, the job name will be Home Welsh 2026-02-12 15:08:57. If you want to name your job something else, you can do it here.
Options
-
Create translation job
By default this is selected, to allow immediate creation of a translation job. Deselect to send job to Pending Queue.
Your translation provider may give you options to choose from at this point. Select what you need and continue.
Completed
Now you will see the completed screen.
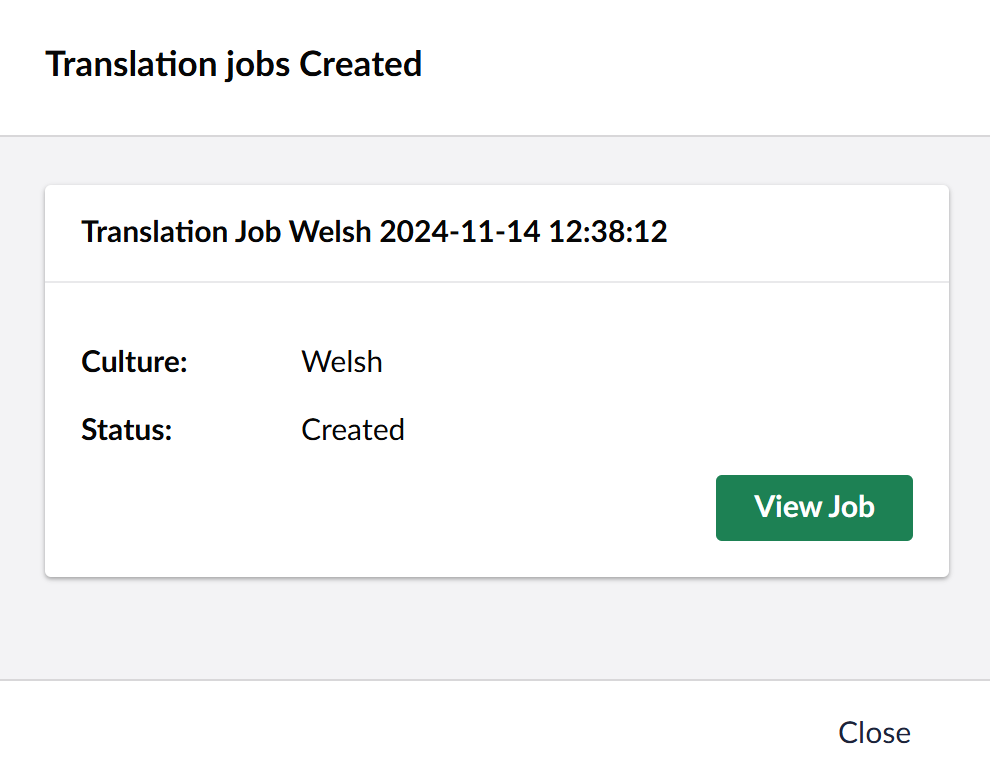
Here, you can click on View Job to view your translation job.